To edit the products in a presentation, scroll to the bottom of the Presentation section within the Project. In the Edit Products section, all items within the presentation will be listed in the order in which they were added to the presentation, from most recent to least recent.
There are several classifications available for organizing products within a presentation and products will be assigned automatically.

- All Products
Includes all items that are currently active in the presentation. - Quote Requested
Includes items included in a customer initiated quote request from their client portal. - Addded to Cart
Includes items the customer currently has in their cart on their client portal. - Liked Products
Includes items where the customer has clicked on the thumbs up icon on their client portal. - Disliked Products
Includes items where the customer has clicked on the thumbs down icon on their client portal. - Seen Products
Includes items that the customer has clicked to view the detail page on their client portal. - Unseen Products
Includes items that the customer has not viewed. - Hidden
Includes items that you have chosen to essentially deactivate or hide from the live presentation. Items that have been hidden can be added back to the live presentation at any time.
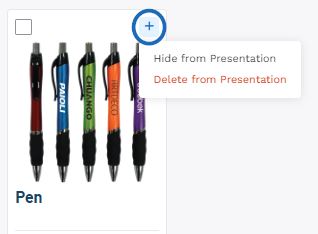
Clicking on the plus icon in the upper right corner of the product listing will give you the option to:
- Hide from Presentation
This option will keep the product within the project but hide it from the presentation. Once you have hidden at least one item, a new tab will appear in the Edit Products section. - Delete from Presentation
This option will remove the item from the project completely.
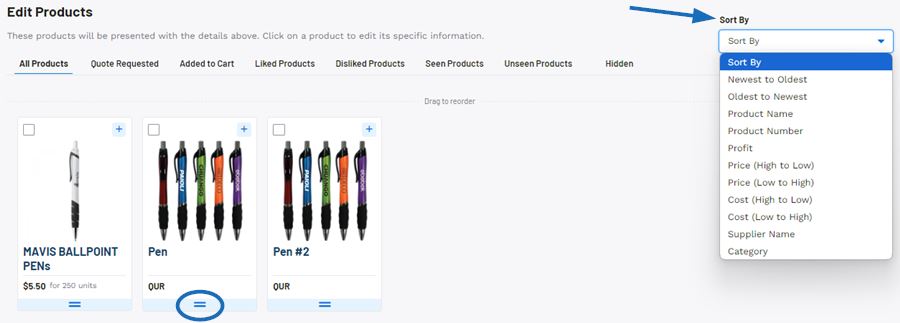
Products can be sorted using the options available in the Sort By drodown. To drag and drop products into a specific order, click on the two line icon in the upper left of the product listing and move the item to the desired placement.
Watch a quick video on how to sort and reorganize products within a presentation
I don't see the Sort By and double line options.
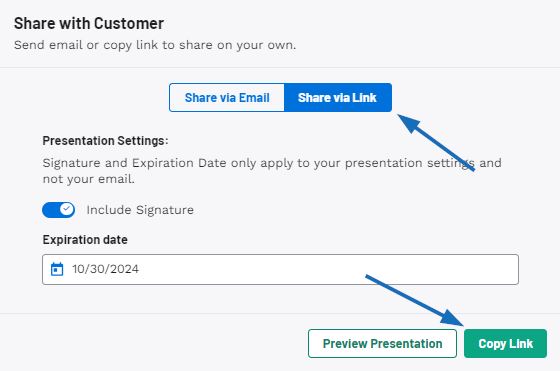
To reorganize the order of the items within a presentation, click on the "Share with Customer" button above the Project Details.

Next, select Share via Link and click on the Copy Link button.

There will now be an Edit button available above the project details. Click on this button and then scroll down to the Edit Product area.

You can use the Sort By options to update the order of the products or use the double link icon below the product thumbnail to drag and drop products to create a custom order.

To hide or delete a product, click on the plus icon in the upper right corner of the product listing.
- Hide from Presentation
This option will keep the product within the project but hide it from the presentation. The item will be moved to the Hidden section and can be unhidden at any time to make it active in the presentation. - Delete from Presentation
This option will remove the item from the project completely.

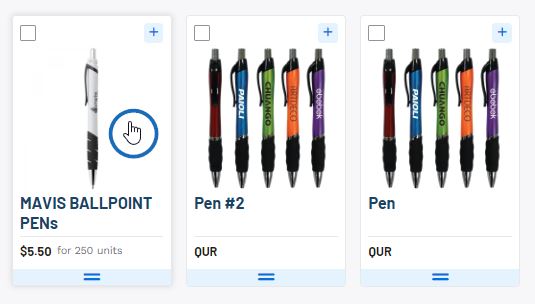
Clicking on an individual product listing will open that item for modification. You can then begin editing the product information and pricing.

 Français
 Español