


An invoice is essentially an itemized bill that the distributor sends to the customer. To generate or create an invoice, open the project.
Invoices can be generated from an order, sample request, or created independently in the Overview or Invoices section.
Generate an Invoice from an Order
To generate an invoice from an order, click into the Orders section and then click on the order number.
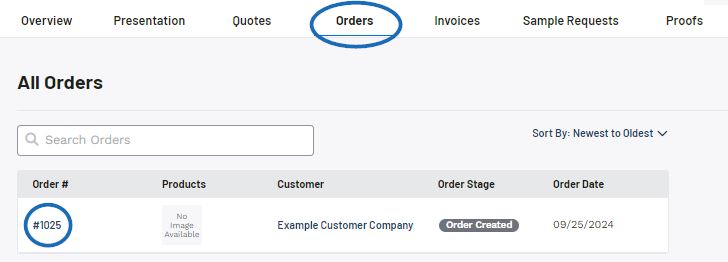
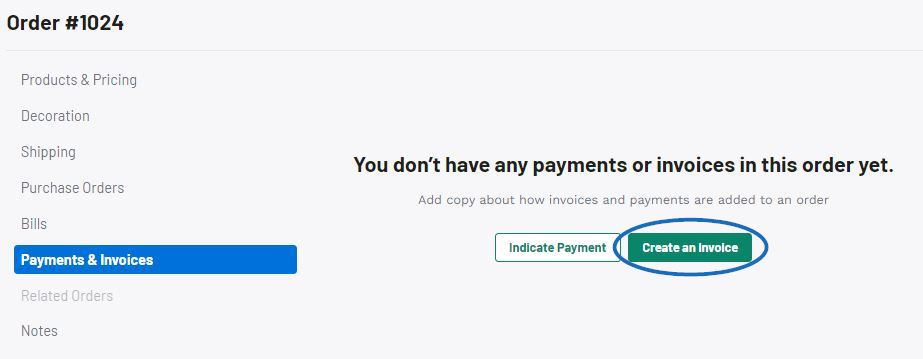
From the order details, click on Payment & Invoices from the options on the left. Click on the Create an Invoice button.
Note: Depending on the information included within the order, you may be prompted regarding whether you would like to copy certain fields from the order to the invoice.
Generate an Invoice from a Sample Request
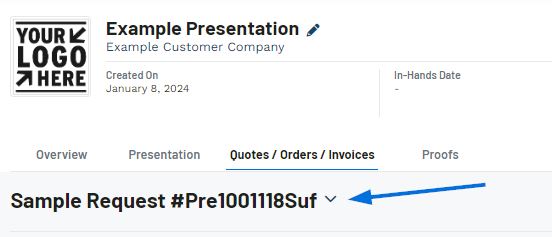
To generate an invoice from an order, click into the Sample Requests section and then click on the sample request number.
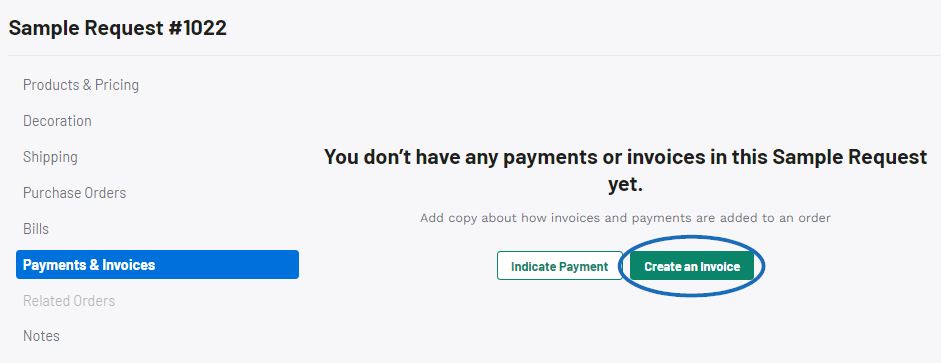
From the order details, click on Payment & Invoices from the options on the left. Click on the Create an Invoice button.
Note: Depending on the information included within the order, you may be prompted regarding whether you would like to copy certain fields from the order to the invoice.
Create an Invoice from the Invoices section
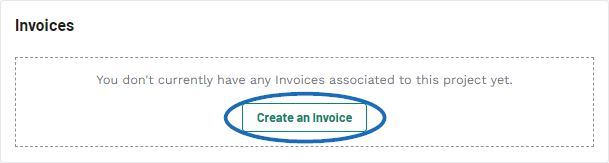
Click into the Invoices section and then click on the Create an Invoice button.

The Create a New Invoice for Project window will open and prompt you to enter information for the invoice. The Invoice Date and Sales Person are required, but it is recommended to provide as much information as possible. When you are finished configuring the information, click on the Create Invoice button.

Create an Invoice from the Overview section
Click into the Overview section and then click on the Create an Invoice button.
The Create a New Invoice for Project window will open and prompt you to enter information for the invoice. The Invoice Date and Sales Person are required, but it is recommended to provide as much information as possible. When you are finished configuring the information, click on the Create Invoice button.
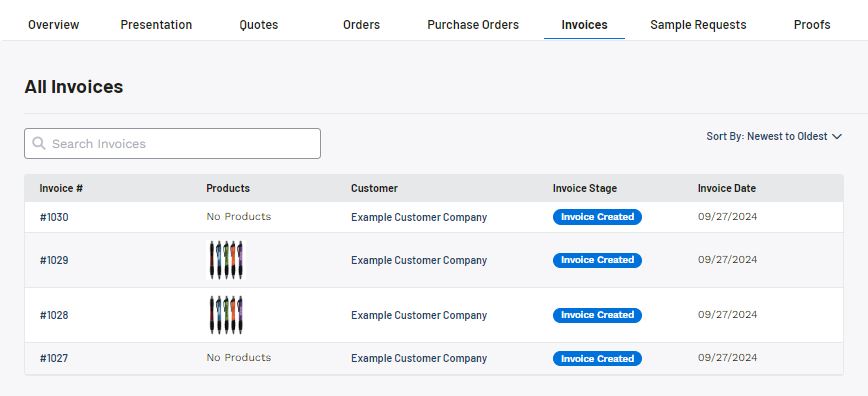
All invoices will be listed in the Invoices section.
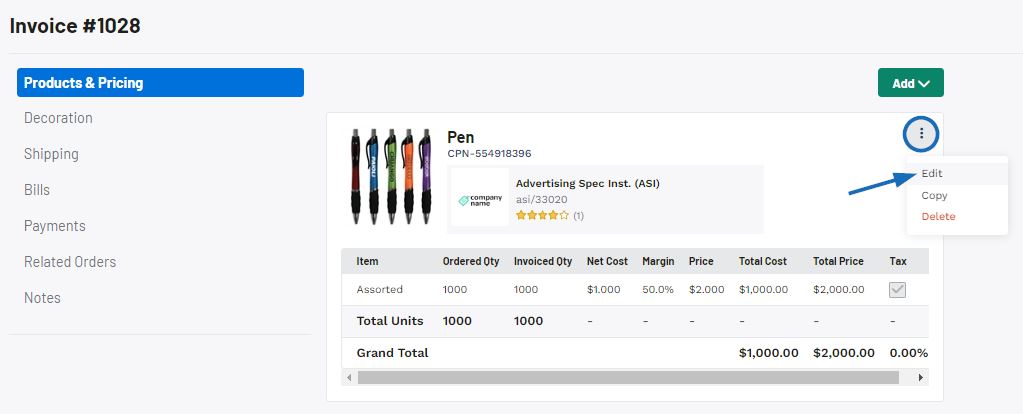
Click on the Invoice to open the detail page to update any information for the invoice. In the Products & Pricing section, all products within the invoice will be displayed. Click on the three dot icon and select Edit to update the product details and/or pricing information for that product.
When you have finished configuring the invoice information, click on the Share button and select Send to Customer.
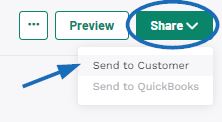
There are two send options:
- Share via Email
When sharing an invoice with a customer via email, select a due date. The address in the customer's CRM record will be displayed will be displayed in the Recipients box. If no email address exists for this customer or you'd like to send to a different email, you can enter one in the Recipients box. The Subject Line and Message can be customized in the Email and Message Templates section of the Account - Settings section. You can click on the Preview Order button to view the customer's portal and once you're ready, click on the Send Email button. - Share via Link
Select a due date for the invoice and then click on the Copy Link button. The Invoice will now be available in the client portal for the customer to review.
 Français
 Español