


After adding products to a presentation, the next step is to configure the project. Projects are the central hub for all aspects of an event and contains all related information, such as the customer, presentations, and order documents, as well as the event type, important dates, budget, and number of attendees. Creating a presentation means that you are creating a component of the Project, so they are created and configured simultaneously.
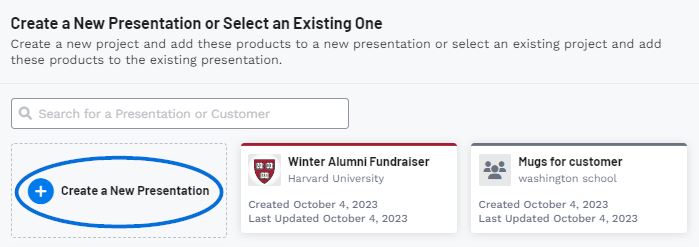
The first step in configuring a project and presentation is to click on the Create New Presentation option.
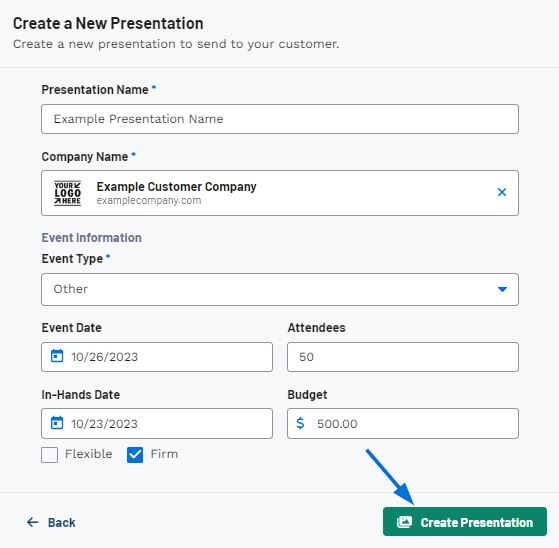
When creating a new presentation, there are three required fields:
Presentation Name
Type a presentation name. This name will also serve as the name for the main project and can be updated at a later time if needed.
Company Name
If this presentation is for a company that has already been added to your CRM, begin typing in the Company Name box. As you type, companies which match the entered text will appear and you can click on a company's name to select them.
The company name is not in my CRM
If the company is not listed in your CRM, type their name and then click on the Create New Company option at the bottom of the available options. When you select to create a new company, a new field for their website and an Add Contact button will become available. Use the Website box to type the company's website address and click on the Search Brand button to source the company's logo, icon, and primary brand color. After you have entered information in all the required fields, the +Add Contact button at the bottom will become available.
A contact is the actual person at the company. Clicking on the Add Contact button will open a new window where you can enter the contact's first and last name, as well as their email, role, phone, and address. The role of the contact plays a key part in the order process so if this contact is responsible for any of the roles listed, check the box for the appropriate option. Please note that one contact can be responsible for one, two or all three roles. When you are finished, click on the Create Presentation button.
Watch a quick video on how to configure a new presentation with a new company and contact.
Event Type
Use the dropdown to select which option matches the event.
After entering information in the three required fields, fill in as much as information as possible in the remaining fields: event date, attendees, in-hands date, and budget. It is important to keep in mind that all information entered on this screen can be updated at a later date.
When creating a new customer and presentation simultaneously, it is beneficial to also add a contact during this process. To do this, click on the Add Contact button. While the only the contact’s first and last names are required, just like with the company itself, the more information, the better so fill in as much information as possible.
Once you have finished entering information, click on the Create Presentation button.
Once you have finished configuring the new presentation, you will be brought into the Presentations tab of the Project. You can then choose the Presentation Settings.
 Français
 Español