

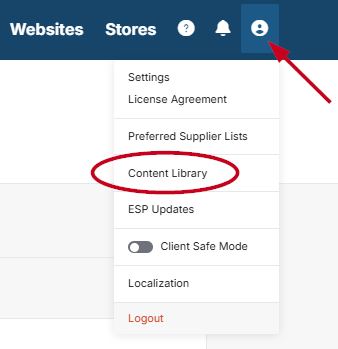
The Content Library is where all assets, elements, and articles can be stored for your ESP+ website. To access the content library, click on the user icon in ESP+ and click on Content Library.
I want to access:
Assets
Assets are essentially images that can be stored in your content library for later use on your ESP+ website.
To upload an asset, click on the "Upload Asset" button.
Click on the "Upload Image" button, or drag and drop a file into the box.
Note: Allowed file types are .jpeg .jpg. .png and .gif.

After uploading the file, you can give the asset a name, description, and tags. Tags can be used to easily find assets later. To add tags, enter the tag keyword and hit the enter key. Once you are done, click on the "Upload Artwork" button.
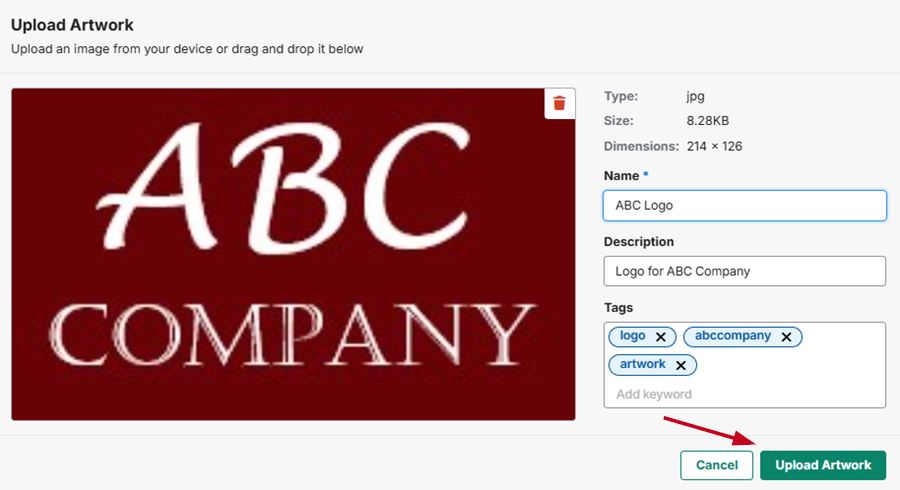
The artwork is now stored in the content library and can be accessed for your website when editing pages.
Assets can also be downloaded by clicking on the download icon in the top right of the image, or to download multiple assets you can check the boxes in the top left of the image. A "Download" button will appear at the bottom of the page and you can download all checked assets at once.
Assets can be deleted by checking the box in the top left of the image and clicking on the Delete button that appears at the bottom of the page.
Elements
Elements are design modules that can be added to your custom website page. The elements available are:
- Columns: Columns allow you to add multiple elements in a column layout
- Banners: Feature large images and text
- Contact Form: Send questions to an inbox
- Embed Link: Insert a video or another link
- Text Box: Insert headers and body copy
- Tiles: Showcase collections or pages
- Article Feed: Auto-populate fresh blog content from your feed onto any page
- Images: Feature basic images
- Buttons: Insert a navigation button
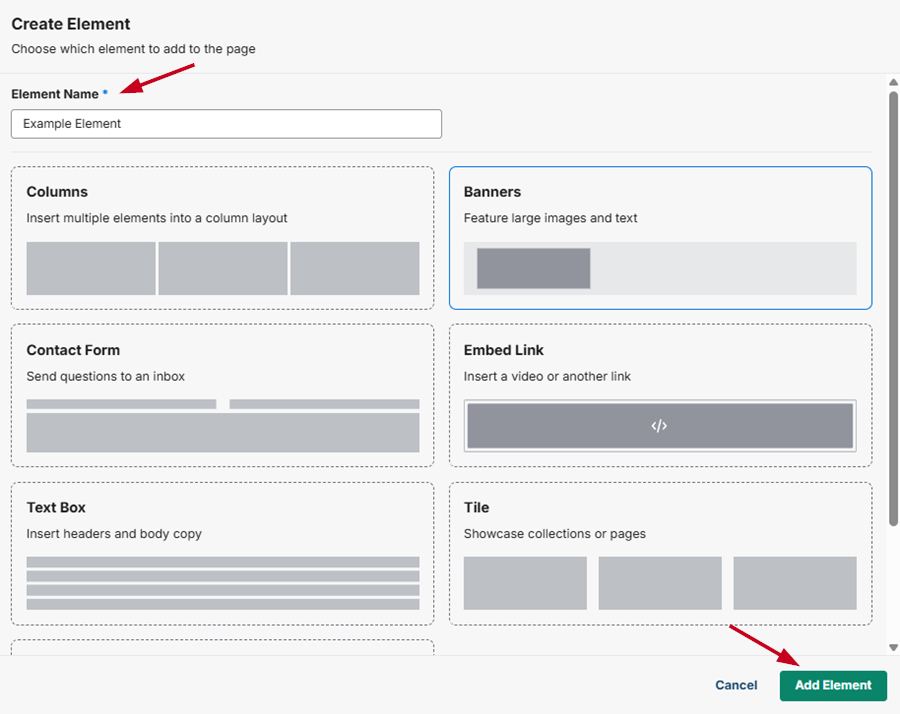
To create an element to display on your website, click on the "Create Element" button.
Enter the element name and select the element type, then click the "Add Element" button.
When you are finished creating the element, click on the "Publish Element" button. The element will be available when adding elements to custom pages on your ESP+ website.
Articles
Articles can be created by users or generated by AI by inserting an article prompt. The articles can then be populated on your ESP+ website using an Article Feed element when creating or editing custom pages.
Generate an Article
To create an AI generated article, click on the "Generate Article" button. Enter an article prompt, then click "Generate Article".
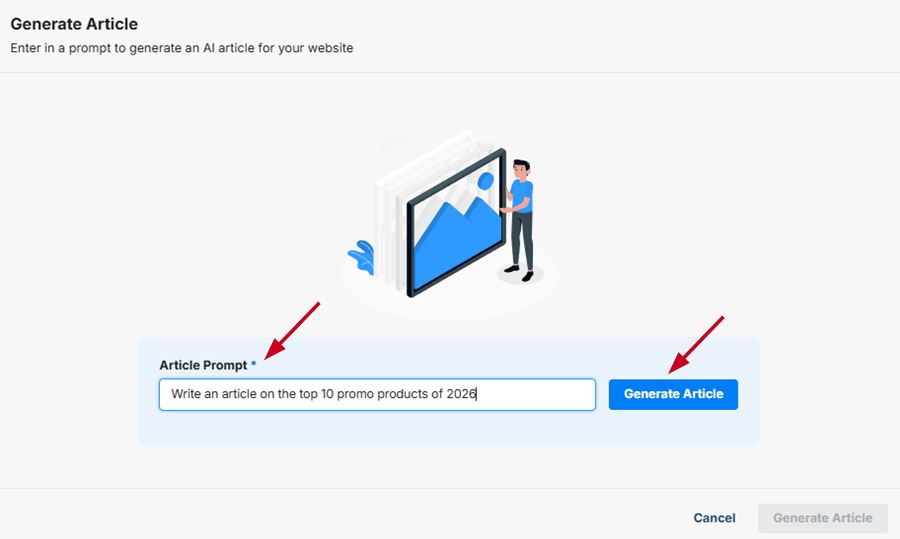
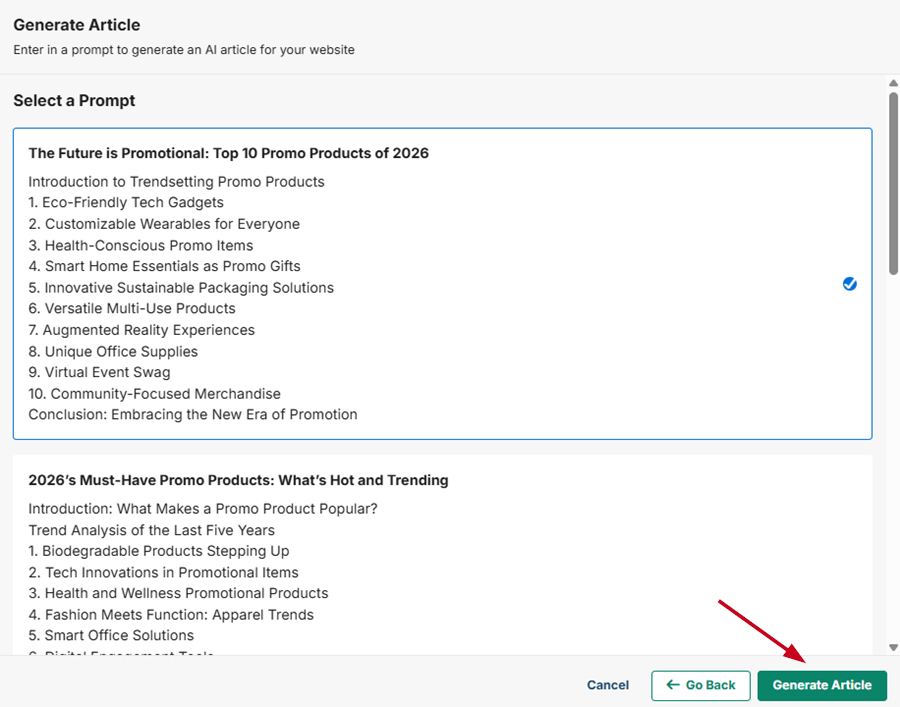
Select a prompt, then click Generate Article and let AI write an article for your website.
You can insert banner images and tags into your article. Once you are finished, click on "Publish Article".
Create an Article
To create your own article, click on the "Create Article" button. Insert the article text in the main text area, then enter the article name, slug, and author name. You can also upload a banner image and add article tags. Once you are done, click on the "Publish Article" button.
The articles will be available in when you create an Article Feed element on your website or in the content library.