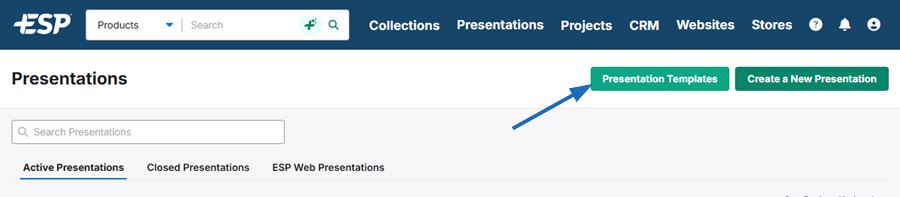
In ESP+, you can create a presentation template. To create a template, click on Presentations from the main toolbar.

Next, click on the Presentation Templates button.
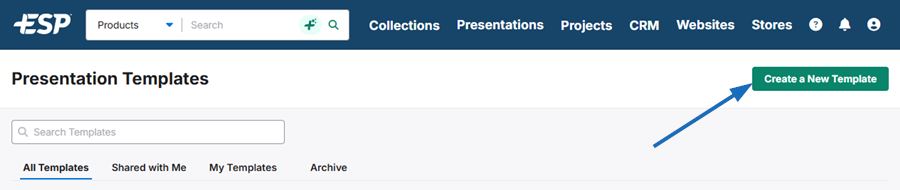
In the Presentation Templates section, click on the Create Template button.
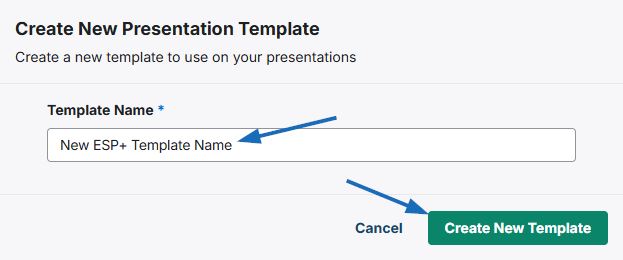
Type a name for the template. You can also assign the template to a company in your CRM. And then click on the Create New Template button.
The Template management page will open.
What would you like to customize?
Template Settings
Type a new name or company for the template.
Branding
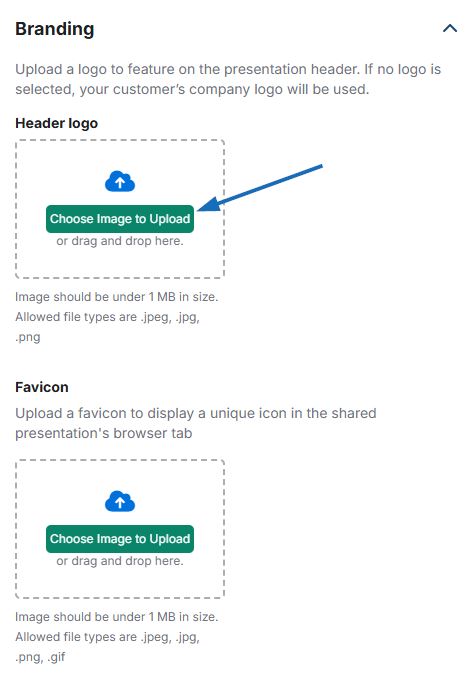
To update the logo to be appear on the presentation header and/or upload a favicon (small icon displayed on the browser tab), use the “Choose Image to Upload” button to browse your computer for the image; or drag and drop the image to the available box.
Also in the Branding section, you can customize the Color Palette. The color palette contains four colors:
- Primary
- Secondary
- Tertiary
- Highlight
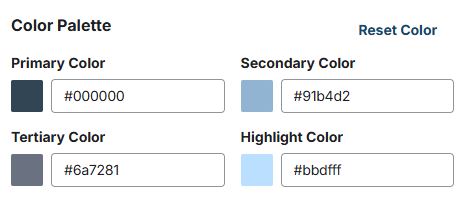
Each of these colors can be customized by clicking on the color swatch or into the text box. A color selector will appear which enables you to visually select a new color. You can also enter a hex code, as well as use the arrows to switch to HSL (Hue, Saturation, Lightness) or RGB (Red, Green, Blue) values. The Presentation Preview will display the updated colors. Use the Reset Color link to return all colors to their original hues.
Landing Page
You will need to enable the Landing Page to expand the section and begin customization.
In the Presented To and Prepared By sections, you can use the Choose Image to Upload button to replace the customer's default logo. You can also update the Title and Content listed for the customer. When entering content, you can remove the default autocompleted option and type any desired text. To include an autocompleted item, begin by typing "#" and selecting from the available options.
Banner
The Banner will appear on the Presentation page. Use the “Choose Image to Upload” button to browse your computer for the image; or drag and drop the image to the available box. Next, enter image alt text.
What is Image Alt Text?
Image Alt Text provides browsers with a short description of the image. This text will not be visually displayed on your site, but does serve several important purposes including:
- Can be read by screen reader software
- Can be indexed by search engines
- Displays in place of missing images
- Abides by ADA Compliance
If you choose to use a text box/button, you can configure the appearance (dark or light background) and the overlay location (left, center, or right aligned). You can also cheese whether to display the event information on the banner or off the banner.
Footer
In the footer section, you can use the Choose Image to Upload button to include a footer image as well as use the Text box to enter a message. The footer text may contain autocompleted options, but you can remove these and type any desired text. To include an autocompleted item, begin by typing "#" and selecting from the available options.
Print Settings
When you apply a template to a presentation, the branding will carry over to the print/PDF version of the presentation. In the Print Settings area you can choose to display a cover page, display the presentation details on the cover page, choose a product layout, and display the page numbers on the presentation.
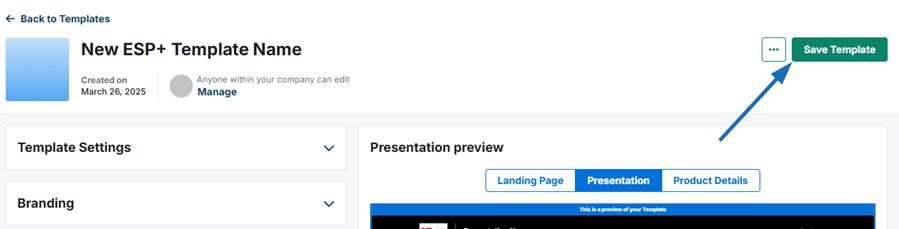
When you are finished customizing the template, click on the Save Template button.
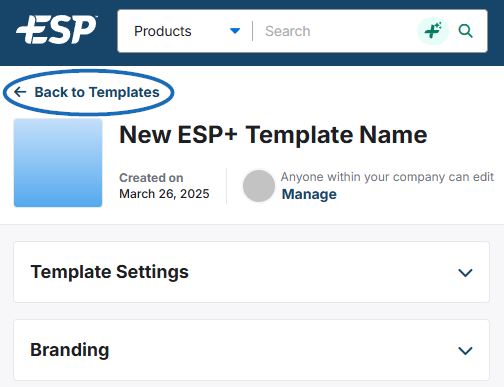
To return to the main templates area, click on the Back to Templates link.