

To add your custom products to an ESP+ Store, the most efficient option is to create a collection and add the items to the ESP+ Store from the collection.
Step 1: Locate Your Custom Products in ESP+
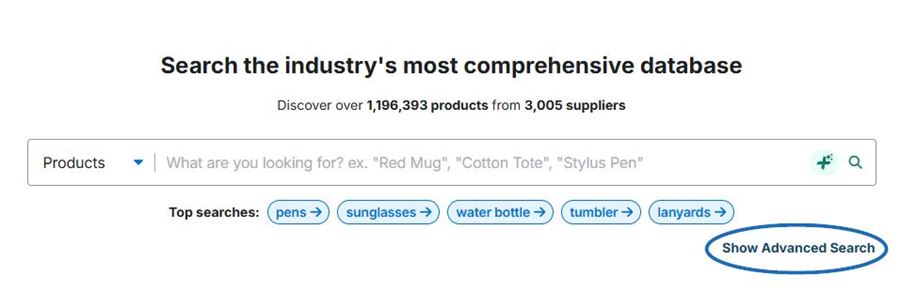
After logging into ESP+, expand the Advanced Search.
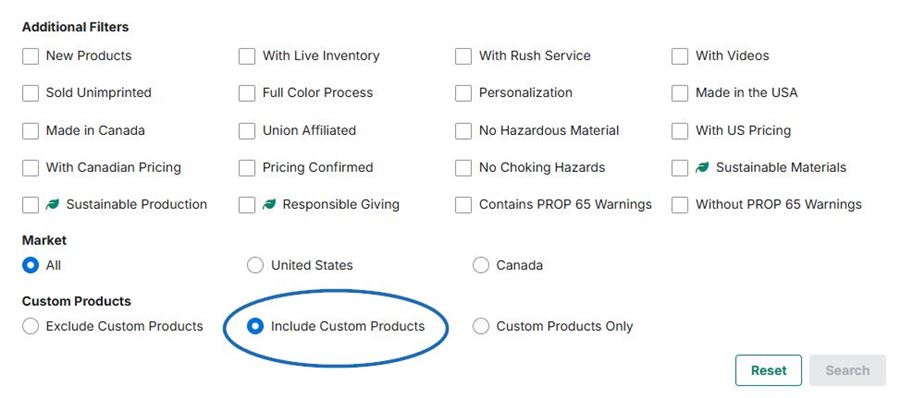
Scroll down in the Advanced Search to the Custom Product section and select the Include Custom Products option.
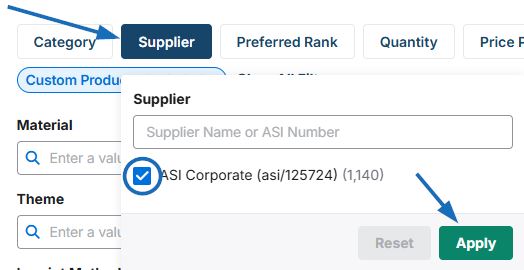
Once you have selected to include custom products, you will need to select your company as the supplier to ensure that all search results are your company's custom products. To do this, return to the top filters and click on the Supplier option. Your company may be already available. If not, type your company's ASI number in the Supplier Name or ASI Number field. Check the box next to your company's name and then click on Apply.
There will now be two applied filters directly below the main filters, one for supplier and one for Custom Products Included. Click on the Search button to display your custom products.
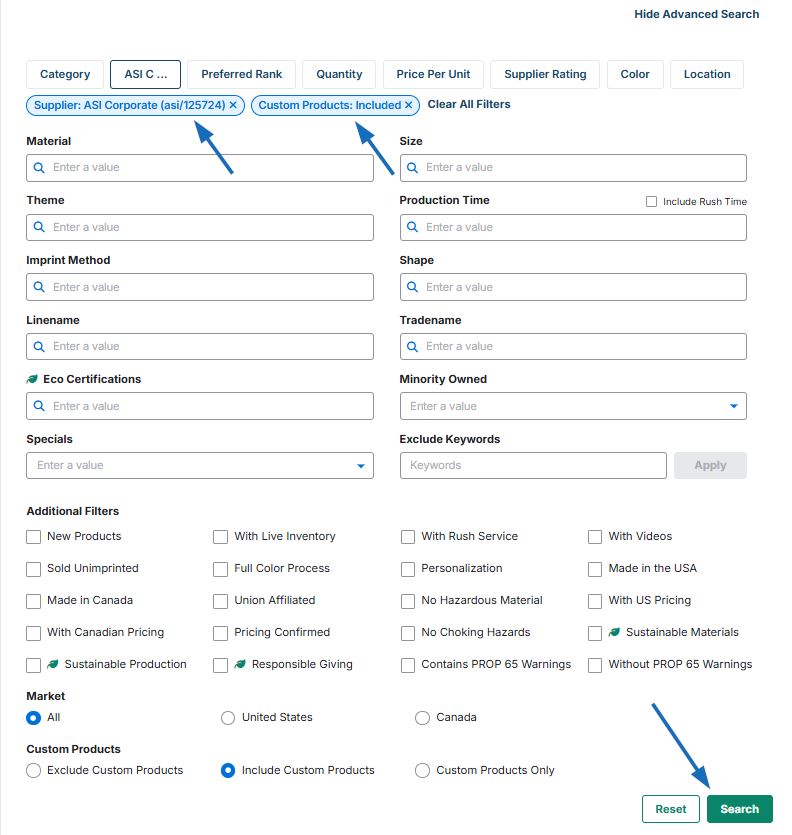
You will be able to apply additional filters to narrow the search results further if needed.
Step 2: Add Custom Products to Collection
After locating your custom products in ESP+, you can add them to a collection. Collections are a helpful tool that enables you to hold up to 250 products that can be displayed on an ESP+ Store.
To add products to a collection from the product results page, you can add an individual product or select multiple items to a new collection.
Add an Individual Single Custom Product
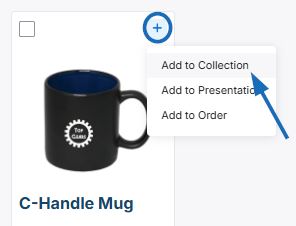
To add an individual custom product to a collection, click on the plus sign icon in the upper right corner of the product tile and select add to a collection.
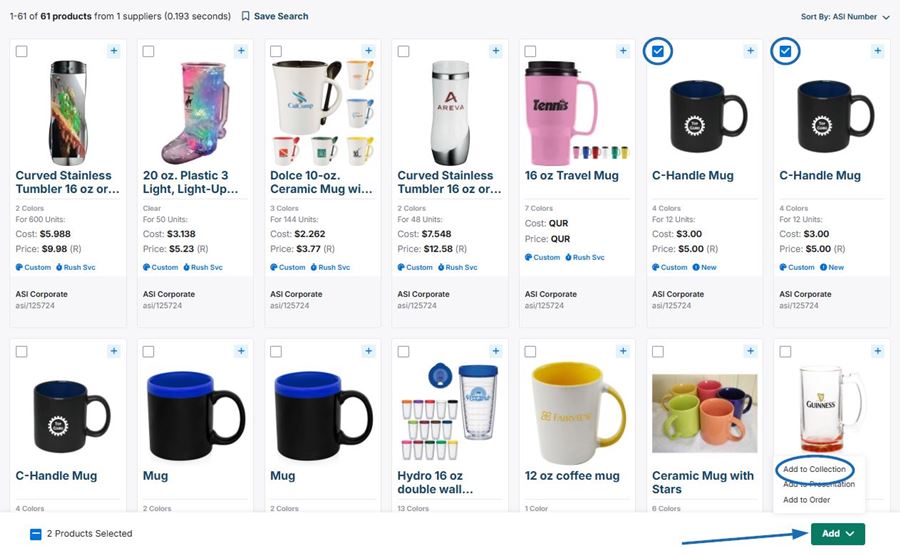
Add Specific Custom Products
To add specific custom products to a collection, select the product listing by clicking on the checkbox in the upper left corner. When you are finished selecting custom product, expand the Add option from the toolbar at the bottom and select Add to Collection.
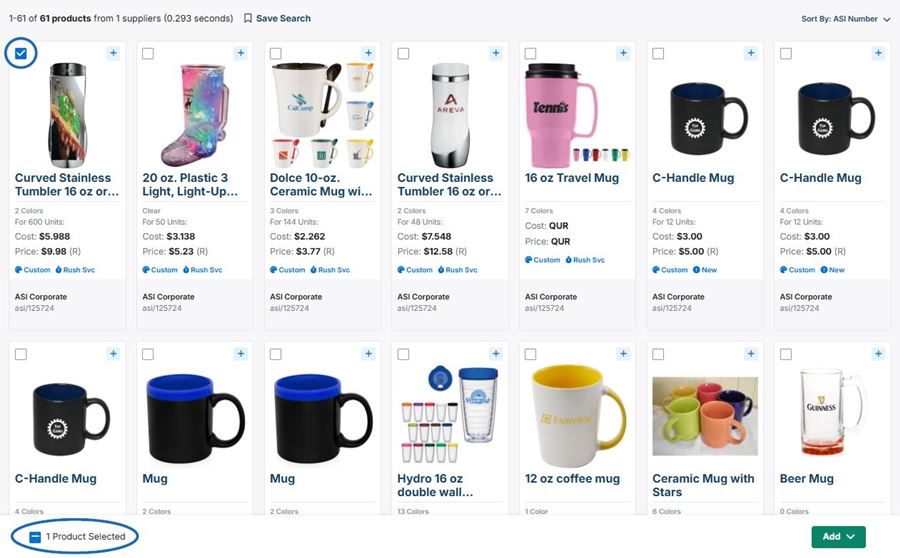
Add All Custom Products on the Results Page
To add all custom products on the results page to a collection, start by selecting a single product by clicking on the checkbox in the upper left corner of the product listing. Then, click the blue checkbox on the bottom toolbar.
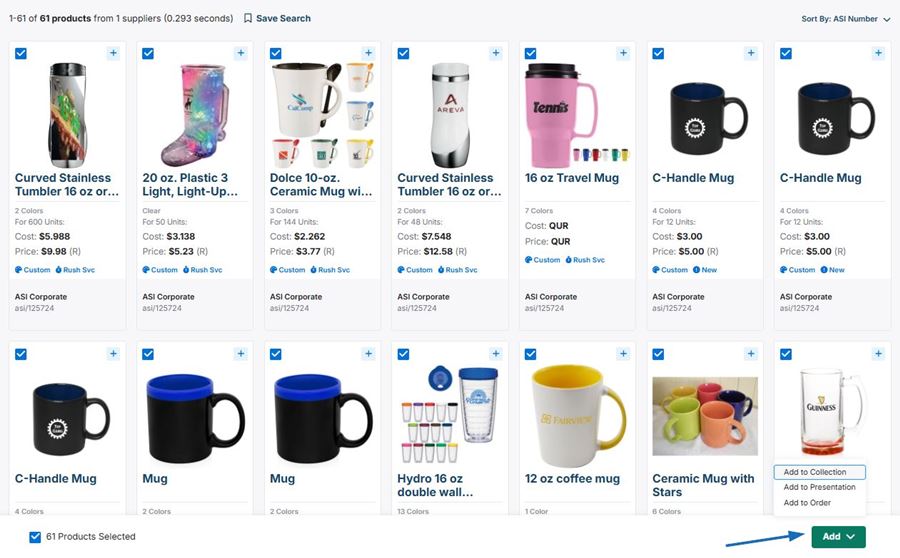
When the Use products in a collection pop-up window opens, you can either select an existing collection or click on the Create a New Collection option.
Note: You may need to scroll down in the pop-up window to view the Create New Collection option.
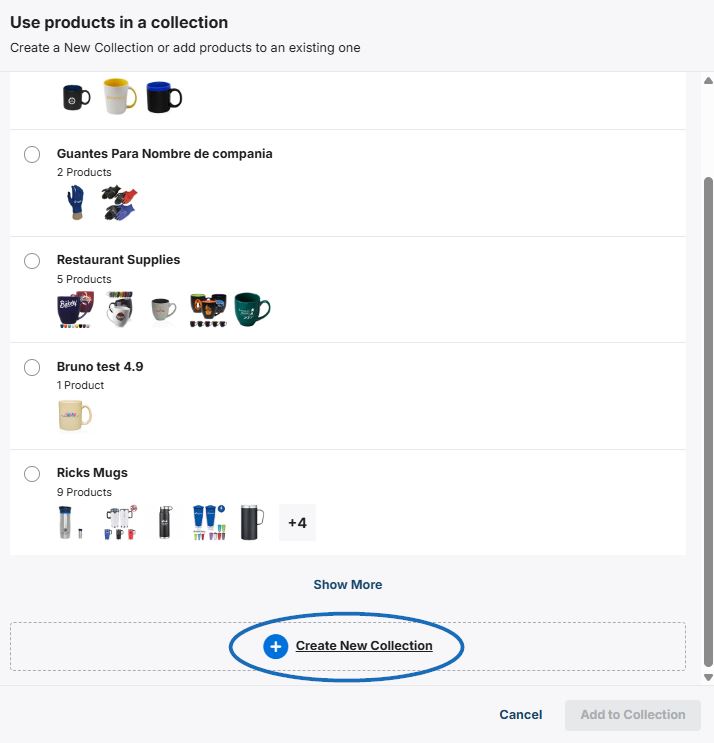
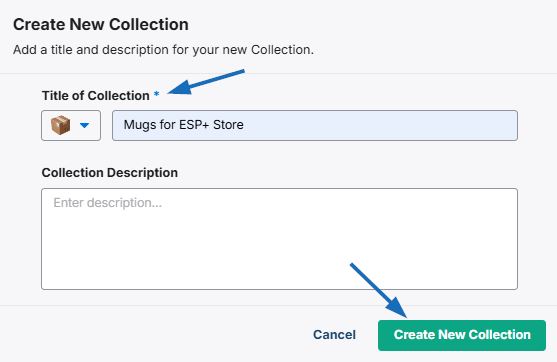
Clicking on the Create a New Collection option will open a new window where you will need to enter a title. You can also change the icon and enter a description if desired. When you are finished entering information, click on the Create New Collection button.
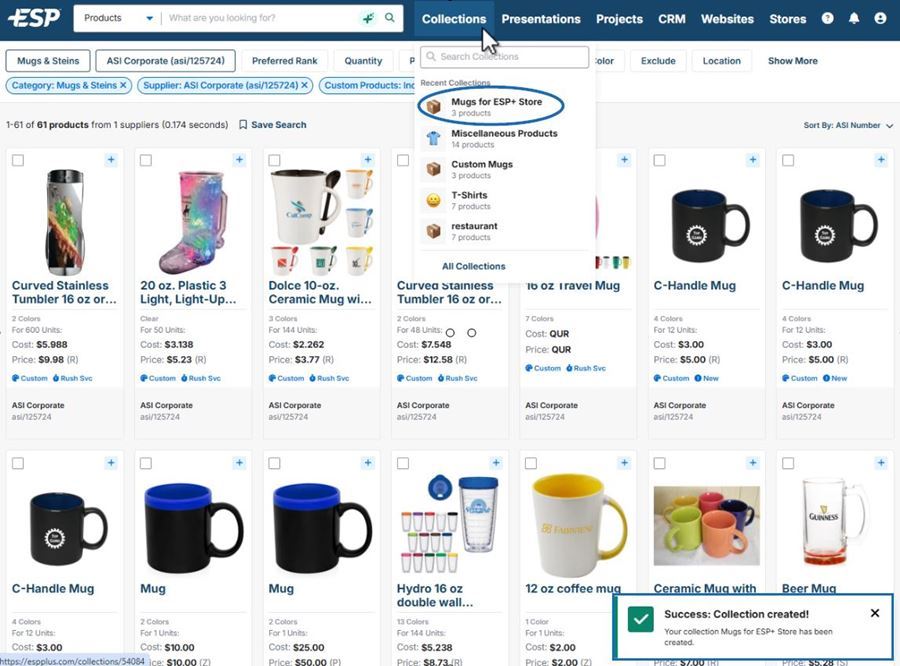
You will see a success message in the lower right corner and the collection will now be available from the main toolbar.
Step 3: Add Custom Products from Collection to ESP+ Store
After you have created a collection, you are ready to add the desired custom products to the ESP+ Store. First, open the ESP+ Store by clicking on Stores from the main toolbar.

Enter the store name or URL in the Search Stores and Pop-up Shops bar. All matching results will be displayed in own listing.
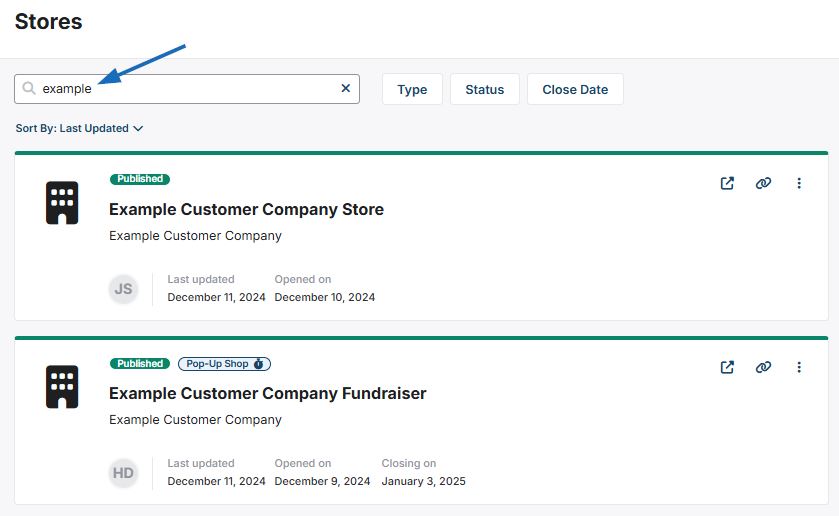
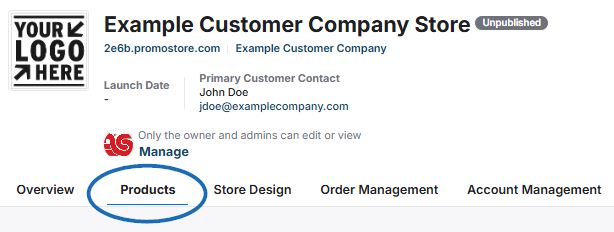
Click anywhere in the store listing to open the store admin in the Overview tab. Click on the Products tab.
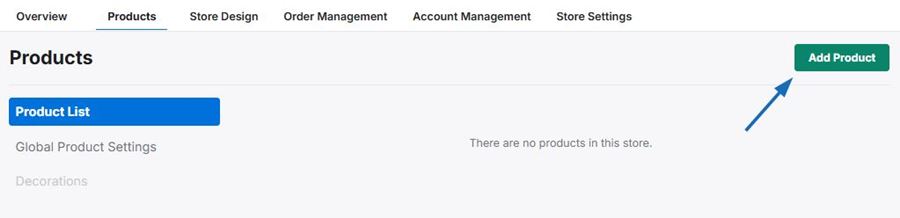
In the Product List section of the Product tab, click on the Add Product button.
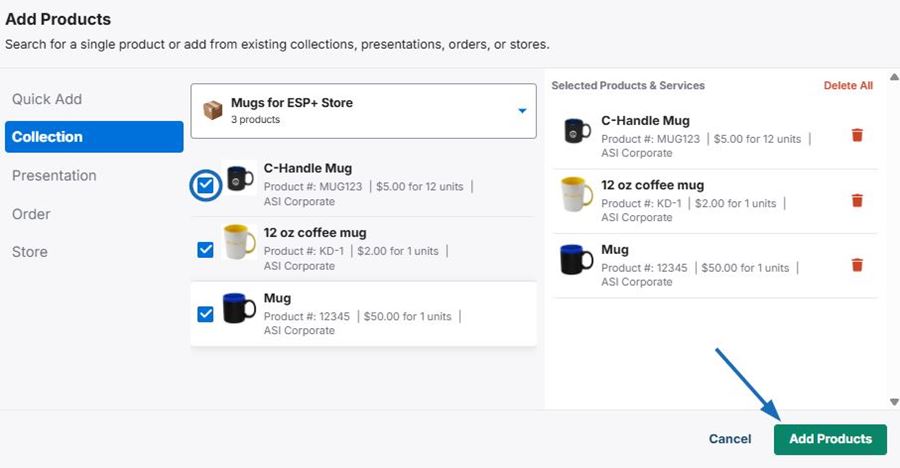
In the Add Products pop-up window, click on Collection and select the collection you created for the ESP+ Store.

Use the checkbox for the custom product(s) you would like to add to the ESP+ Store. As you click on a custom product listing, the item will be added to the Selected Products & Services area. When you are finished selecting custom products, click on the Add Products button.
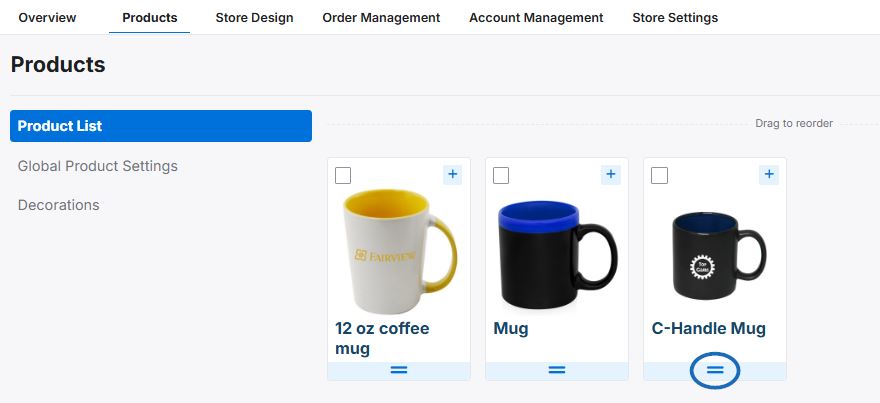
The custom products will now be available in the Product List area. You can use the double lines below the custom product tile to drag and drop the items to the desired order.
When you are finished adding and managing the custom products for an ESP+, click on the Publish Store button to make these changes live.
