

The Store Design section enables you to update the branding and information for your ESP+ Store.
I want to update:
Logo
To upload your client's logo to be featured on the store header, click on the Choose Image to Upload button.
Browse your computer, locate the image, select it, and then click on Open.

To remove or replace an uploaded logo, click on the red trash can icon in the upper right corner of the image.
Favicon
A favicon is a small icon that will be displayed next to your store title on browser tabs to help visitors recognize your brand. The recommended favicon size is a square image of 50px by 50px and under 2MB. To upload a favicon image, click on the Choose Image to Upload button.
Browse your computer, locate the image, select it, and then click on Open.

To remove or replace an uploaded favicon, click on the red trash can icon in the upper right corner of the image.
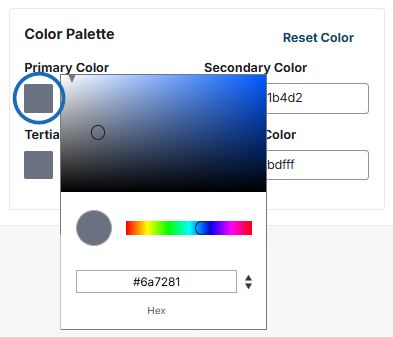
Color Palette
The color palette contains four colors:
- Primary
- Secondary
- Tertiary
- Highlight

Each of these colors can be customized by clicking on the color swatch or into the text box. A color selector will appear which enables you to visually select a new color. You can also enter a hex code, as well as use the arrows to switch to HSL (Hue, Saturation, Lightness) or RGB (Red, Green, Blue) values.
As colors are updated, the Live Preview to the right will reflect the changes. Use the Reset Color link to return all colors to their original hues.
Store Banner
The store banner will be displayed directly below the customer logo and cart icon. To update the default banner, click on the red trash can icon in the upper right corner of the image. Use the “Choose Image to Upload” button to browse your computer for the image; or drag and drop the image to the available box.
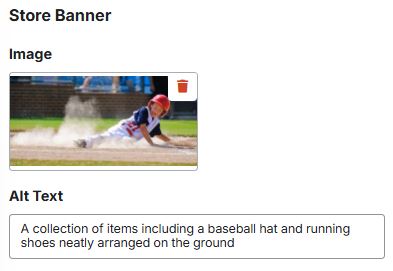
Next, enter image alt text. Image Alt Text provides browsers with a short description of the image. This text will not be visually displayed on your site, but does serve several important purposes including:
- Can be read by screen reader software
- Can be indexed by search engines
- Displays in place of missing images
- Abides by ADA Compliance
If yuo would to feature a video banner in place of the image, enter the Vimeo or YouTube address for the video in the "Video URL" field and click on the "Insert Video" button.
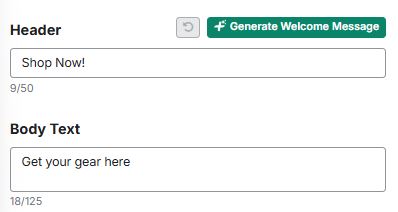
The Header and Body Text fields will combine to create a text box that will display in front of the banner image. If you need assistance generating a header line, click on the "AI Tools" button and select "Generate Welcome Message" to have AI craft a greeting.
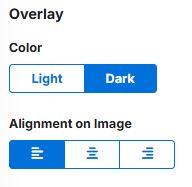
If you have chosen to utilize a Header and Body Text, you can configure their appearance using the options in the Overlay section. You can choose to have the text displayed on a light or dark background color as well as choose the alignment of the overlay on the banner image to be left, center, or right aligned.
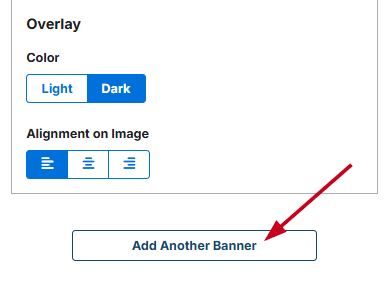
To create rotating banners, click on the "Add Another Banner" button and configure the second banner. It is important to note that the Header and Body Text will remain across any additional banners. Configure the banner using the available options. You can add up to three banners on an ESP+ Store.
When you are finished updating the banners, click on the "Save" button above the preview.
Text
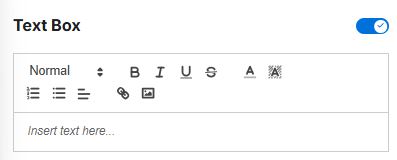
If you would like to include a text section below the banner, enable the "Text" option using the slider. Type or paste the text you would like to include on the page in the “Insert text here” section. Then, use the options available on the toolbar to modify the appearance of the text. The text will appear directly below the banner image.
When you are finished updating the text, click on the "Save" button above the preview.