


Custom products can be added to any customer facing order documentation (Quote, Order, Invoice) within the Project. To do this, log into ESP+.
One key aspect to keep in mind is that because you will be completely configuring the product information, you will need to add the supplier information from your CRM. If the supplier is not currently listed in your CRM, you will need to add them prior to creating the custom product.
How do I add a non-ASI vendor company as a supplier in my CRM? (click for answer)
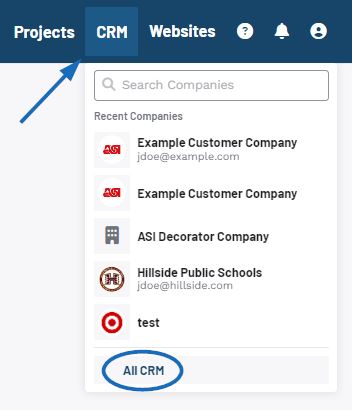
To add your company or a non-ASI vendor as a supplier in CRM, click on the CRM option from the main toolbar and select "All CRM".
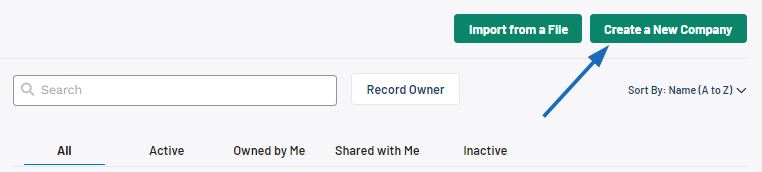
Then, click on the Create a New Company button.
When the Create a New Company window appears, select "Supplier" as the Company Type and then enter the name of your company or the non-ASI vendor in the Company Name section. The Company Type, Company Name, and Primary Contact's Name are required, but it is recommended to provide as much information as possible.
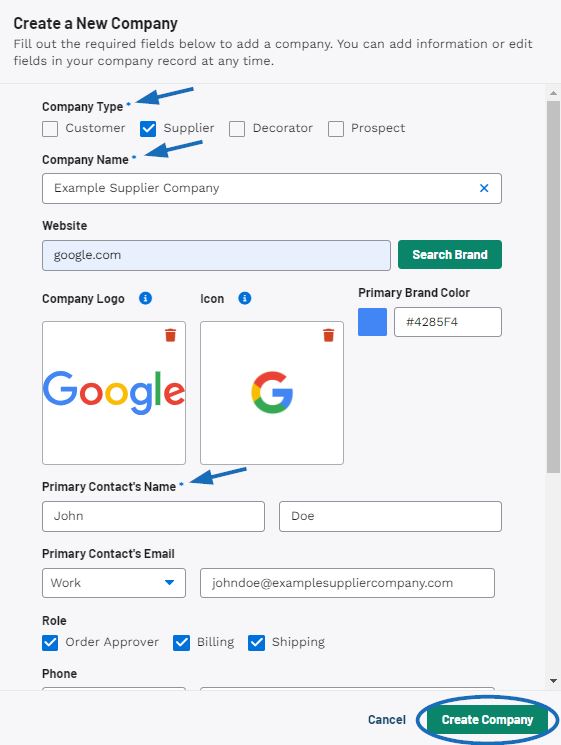
The Company Type, Company Name, and Primary Contact Name are required, but the more information, the better so it is recommended to provide as much information as possible. When you are finished entering information, click on the Create Company button.
Watch a short tutorial on how to create a new company
The non-ASI vendor will now be available as a supplier in your CRM and you can use this information when creating a custom product.
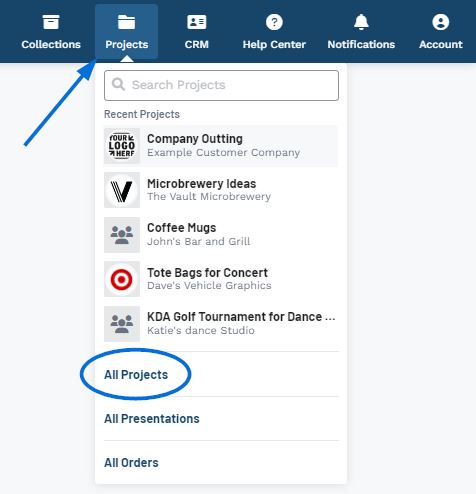
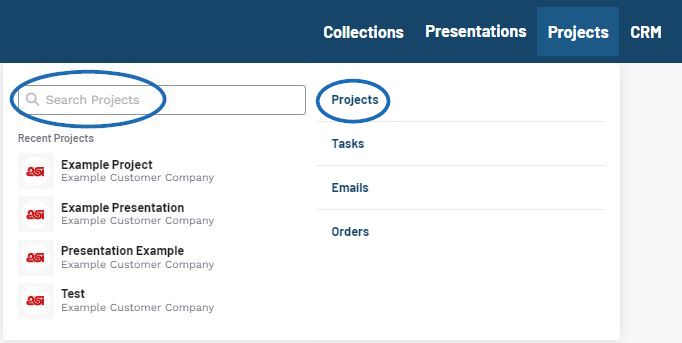
To add a custom product to a quote, order, invoice, and/or sample request, click on Projects from the main toolbar. If the project you would like to open is listed in the five most recent projects, click on the name to open the record. If not, click on Projects from the available options.
How do I find a project that is not listed? (click for answer)
If the project you need is not listed, you can use the "Search Projects" bar to enter the project name or click on the Projects option.
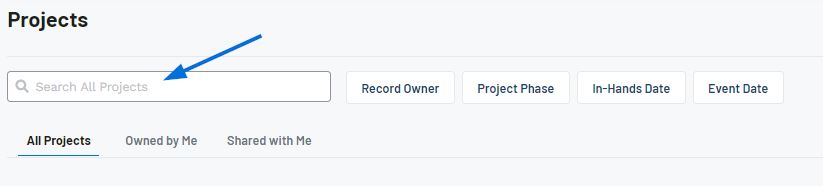
In the All Projects area, you will be able to view projects in all phases which you are involved either as an owner or a collaborator.
The "Search All Projects" area enables you to enter the project name and will search through the current tab. You can also use the quick filters to narrow the available projects as well as click into the Owned by Me (projects that you are the owner) or Shared with me (projects that are shared with you specifically or all users within the company) tabs.
Once you have located the project, click on the name to open the record.

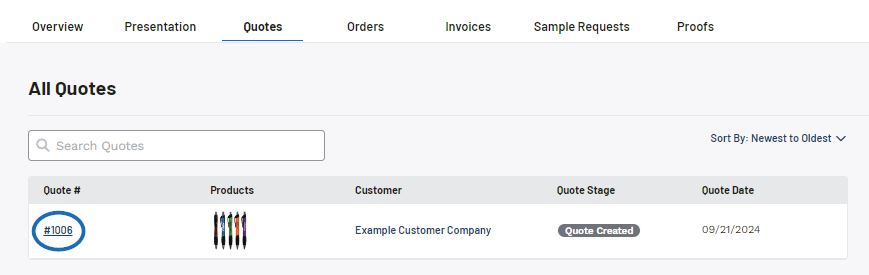
In the Project record, each type of order document has its own section. Click on the section you would like to use.

Click on the order document number to open the details.
What if I do not have any order documents yet? (click for answer)
If you do not have any order documentation for the project, a new quote, order, invoice, and/or sample request from within the project. In each section,
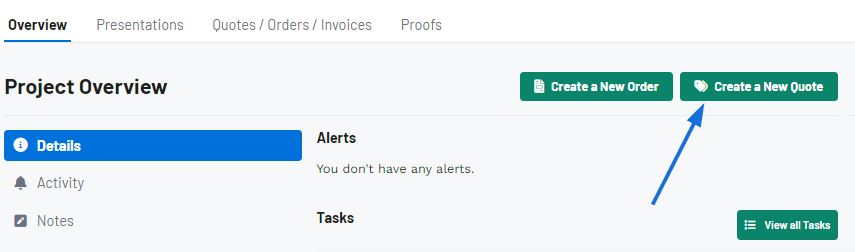
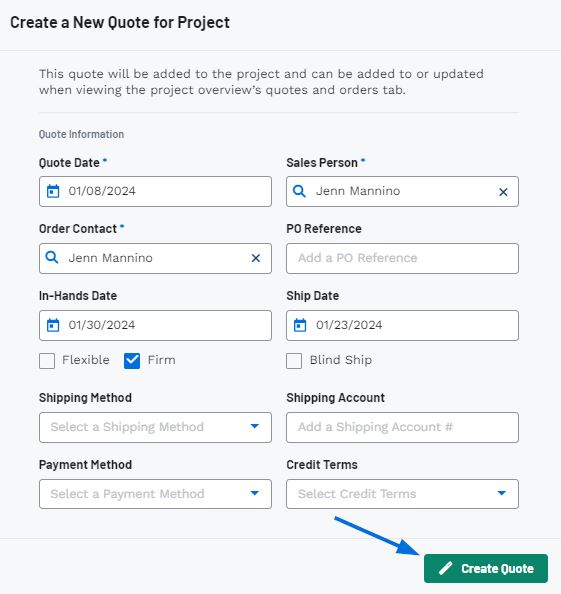
In the Create a New Quote for Project window, fill in as much information as possible. Please note that the Quote Date, Sales Person, and Order Contact are required. Once you are finished filling in the fields, click on the "Create" button.
Once you have created the order documentation, it will be available in the respective section.
Next, click on the "Add Products" button.

The Custom Product section enables you to configure the details for the product. While the Product Name and Supplier are required, it is recommended that you include as much information as possible. Once you have finished entering information, click on the "Add Custom Product" button.
Watch a short tutorial on how to configure a custom product
The product will be moved into the Selected Products & Services section and the custom product form will be reset so you can continue to add more items if needed. You will be able to fully configure the product information, including uploading images, editing pricing, and listing additional charges after the item has been added to the order document. When you are finished adding products, click on the "Add Products" button at the bottom.
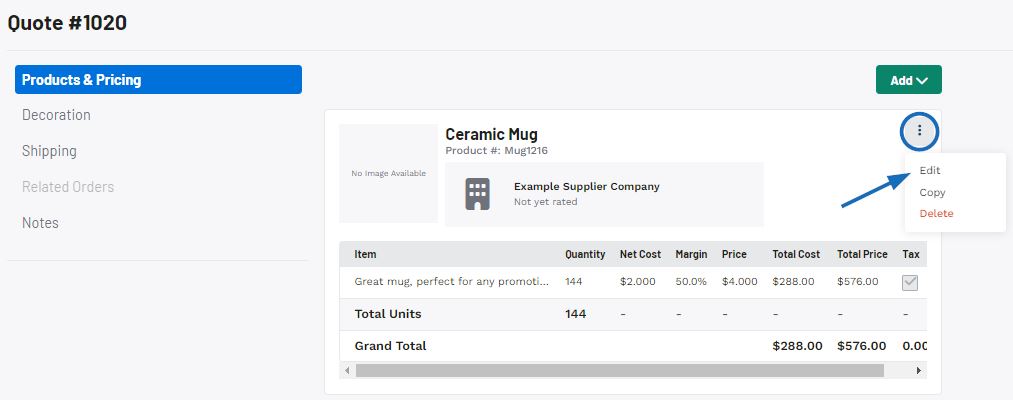
After the item has been added to the order document, it will be listed in the Products & Pricing section. Click on the three dot icon for the product and select "Edit" to completely customize the product information.
 Français
 Español