

After being upgraded to ESP+, you can find all your ESP Online presentations in ESP+.
Find My ESP Online Presentations
To view an ESP Web Presentation in ESP+, click on the Presentations button from the main toolbar.
In the Presentations area, there will be a section labeled ESP Web Presentations.
Each presentation will be listed as a tile with a three-dot icon in the upper right corner. Clicking anywhere on the tile will open a new tab and display the presentation in a PDF format. Clicking on the three-dot icon will give you the option to:
- Download PDF
Download a PDF version of the presentation - Create Presentation
Configures a new project. In ESP+, a presentation is one component of the project, so creating a project enables you to manage the customer, presentation, and order information in one location. - Create Collection
Save the products within the presentation in a collection for use in a later presentation, order, and/or as a website page.

Convert an ESP Online Presentation to an ESP+ Project
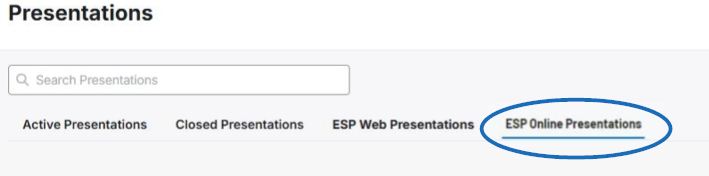
To convert an ESP Online Presentation to an ESP+ Project, click on the Presentations button from the main toolbar. In the Presentations area, there will be a section labeled ESP Online Presentations. Locate the presentation you would like to convert to a project, click on the three-dot icon, and then select Create Presentation.
When creating a new Presentation, the first step is fill in the three required fields: Presentation Name, Company Name, and Event Type. The Presentation name will also function as the Project name.
After typing the Presentation name, enter the company name. If the customer is already saved in your CRM, click on the company name. If not, you need have the company saved in CRM, type the entire company name and click on Create New Company.
A new section will appear, and you can use the Website field to source this customer’s specific branding information – including their company logo, icon (which is the small image shown next to the browser name), and primary brand color. To do this, type the website address and click on the Search Brand button. All available branding information for this customer will be displayed.
Use the dropdown box to select the event type. Then, fill in the additional four fields of event date, attendees, in-hands date, and budget if you are able.
When creating a new customer and presentation simultaneously, it is beneficial to add a contact during this process. To do this, click on the Add Contact button at the bottom. While the only the contact’s first and last names are required, just like with the project itself, the more information, the better so fill in as much information as possible. The role of the contact plays a key part in the order process so if this contact is responsible for any of the roles listed, check the box for the appropriate options. Please note that one contact can be responsible for one, two or all three roles.
Once you have finished entering information for this contact, click on the Create Presentation button.
A success message will appear in the lower right corner with an Edit Presentation link you can use to open the newly created project and begin editing the presentation. The presentation will be available via the Projects option on the main toolbar, as well as by clicking on Presentations. Additionally, if you did create a new company and contact, this information will be saved to your CRM.