

After logging into ESP+ and clicking on the Websites option from the main toolbar, click on the "Create Website" button.

A pop-up window will prompt you to type the name of the website. After entering this information, click on the Choose Template button. All available templates will be displayed and hovering on a template will provide two options: Live Preview and Select Template. Live Preview will open an example of the template in a new tab. Select Template which enables you to choose that template for your website. After you've made your selection, click on the Upload Logo button. You can click on the Choose Image to Upload button to browse your computer or drag and drop an image file to this box. After giving the website a title, selected a template, and uploaded our logo, click on the Create Website button.
After a website is built, the admin area will open for you to view information and customize the site via the following tabs:
- Overview
View general information about the site and shortcuts to other admin areas - Pages
Add, edit, and delete pages for your website as well as manage the header and footer site navigation menus - Products
Select the fields that will be displayed for items on your website, manage suppliers, manage product filters, and adjust pricing and fees. - Order Management
Manage the order process, shipping, and sales tax information - Account Management
Create new accounts and manage customer information for the site - Settings
View and update the company information, localization, SEO, and domains - Site Design
Change color palette and template, and manage the header and footer layouts
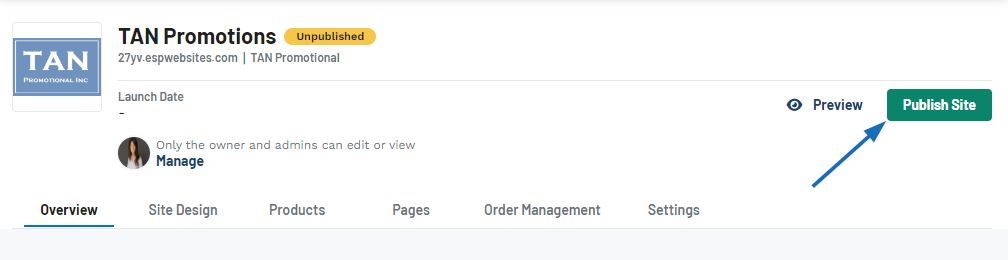
When you have completed customizing your site, click on the Publish Site button to make the site live.